AC Installation Essentials: A Complete Homeowner's Guide

November 8, 2024

As summer approaches, having a reliable air conditioning system is essential for home comfort. Understanding installation basics is crucial whether you’re new to AC Installation or upgrading. This guide explores various air conditioners—central, window, and portable—and key factors to consider, such as size, energy efficiency, and budget.

Choose an appropriately sized unit to meet your cooling needs while avoiding energy waste. Familiarize yourself with energy efficiency ratings to help reduce utility costs. After selecting your AC, ensure proper installation and commit to regular maintenance, including filter changes and professional inspections, to optimize performance and longevity. With this knowledge, you'll be ready to make informed decisions, ensuring a comfortable living environment all summer long.


Types of Air Conditioners


  • Central Air Conditioning Systems: These systems are designed to cool the entire home. They use a network of ducts to distribute cooled air from a central unit. Air Conditioning is ideal for larger homes, providing consistent temperature control throughout multiple rooms.
  • Ductless Mini-Split Systems: These systems are an excellent choice for homes without existing ductwork. Ductless systems consist of an outdoor compressor unit and one or more indoor air handling units, allowing for zoned cooling. This flexibility makes them popular in modern homes.
  • Window Units: Window AC units are standalone units installed in windows or through walls. They are more suitable for cooling individual rooms and are often a more affordable option for homeowners on a budget.
  • Portable Air Conditioners: These units are versatile and can be moved from room to room. They typically vent through a window and are a great option for renters or those needing temporary cooling solutions.


Factors to Consider Before Installation


Before installing an AC system, several factors need to be considered to ensure you choose the right unit for your home:


  1. Size of the Unit: An undersized AC will struggle to cool your space, while an oversized unit will cool too quickly without adequately dehumidifying the air. To find the right size, calculate the cooling capacity needed in British Thermal Units (BTUs). A general guideline is to use 20 BTUs per square foot of living space. For more precise calculations, consider factors like ceiling height, insulation quality, and sunlight exposure.
  2. Energy Efficiency: Look for units with a high Seasonal Energy Efficiency Ratio (SEER) rating. Higher SEER ratings indicate more efficient units, leading to lower energy bills. The U.S. Department of Energy recommends a SEER rating of at least 14 for optimal efficiency.
  3. Ductwork Condition: If you’re opting for a central AC system, inspect your ductwork for leaks, insulation quality, and overall condition. Poorly maintained ducts can lead to significant energy loss and reduced cooling efficiency.
  4. Installation Location: Consider where to place the outdoor and indoor units. The outdoor unit should be located in a shaded area with good airflow, while the indoor unit should be centrally located for optimal air distribution.
  5. Budget: Determine your budget for both the unit and installation costs. While cheaper units may save you money upfront, investing in a high-quality system may save you more in energy bills and maintenance costs over time.


The Installation Process


Step 1: Preparing for Installation


Before installation begins, take the following preparatory steps:


  1. Clear the Installation Area: Ensure the area around the installation sites is clear of obstacles. For central systems, this includes the attic or basement where ductwork may be run.
  2. Gather Tools and Equipment: If you plan to install the unit yourself, gather all necessary tools, including screwdrivers, wrenches, a drill, and level, as well as safety gear like gloves and goggles.
  3. Read the Manual: Familiarize yourself with the specific instructions provided by the manufacturer for your AC unit. Every model has unique installation requirements.


Step 2: Installing the Outdoor Unit


  1. Choose the Location: Select a spot that is level, stable, and provides adequate airflow. Ensure it is placed away from any obstructions, such as walls or vegetation.
  2. Level the Base: If your outdoor unit does not come with a pre-installed base, create a level foundation using concrete blocks or a pre-fabricated pad.
  3. Secure the Unit: Once leveled, secure the unit in place using screws or brackets provided by the manufacturer.
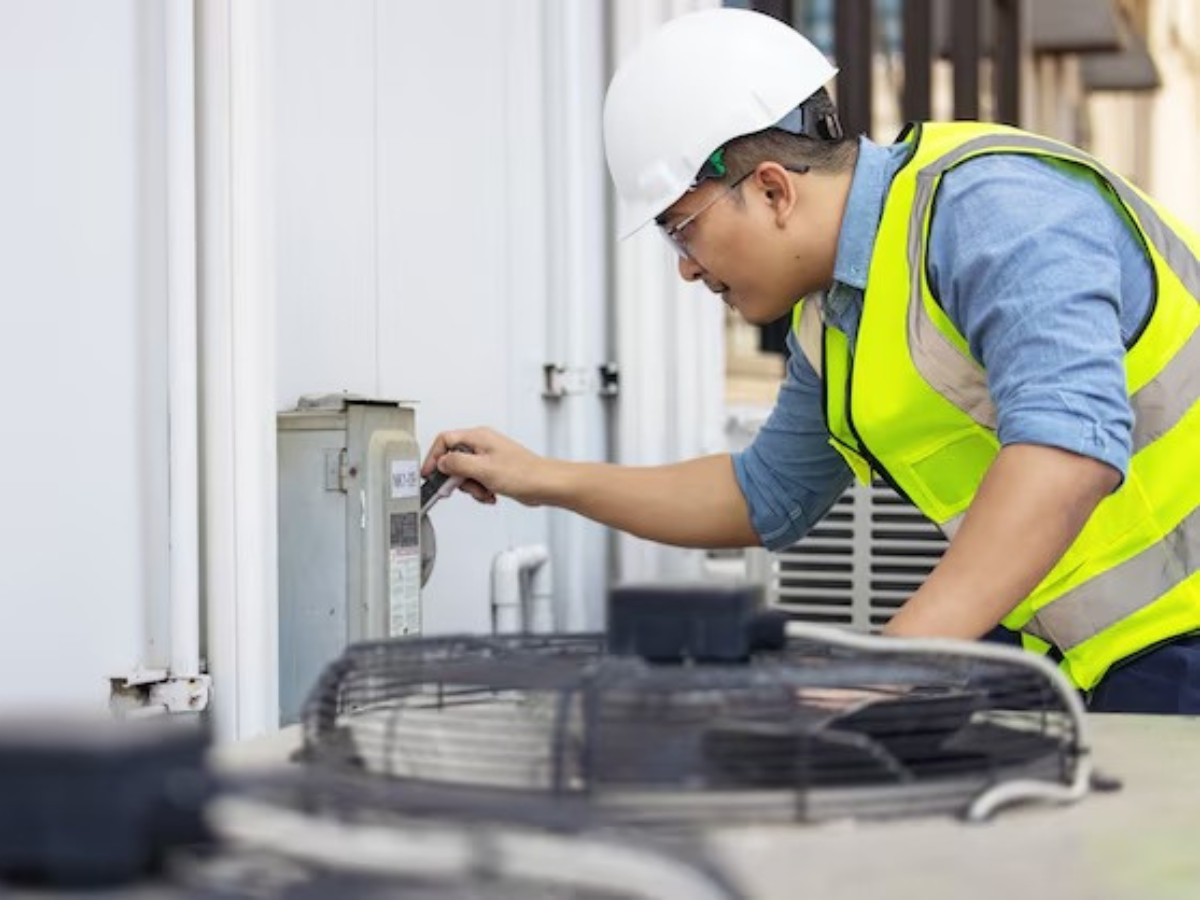
  4. Connect the Electrical Supply: Ensure power to the unit is off. Connect the electrical supply according to the manufacturer’s instructions, usually involving wiring to a disconnect switch.
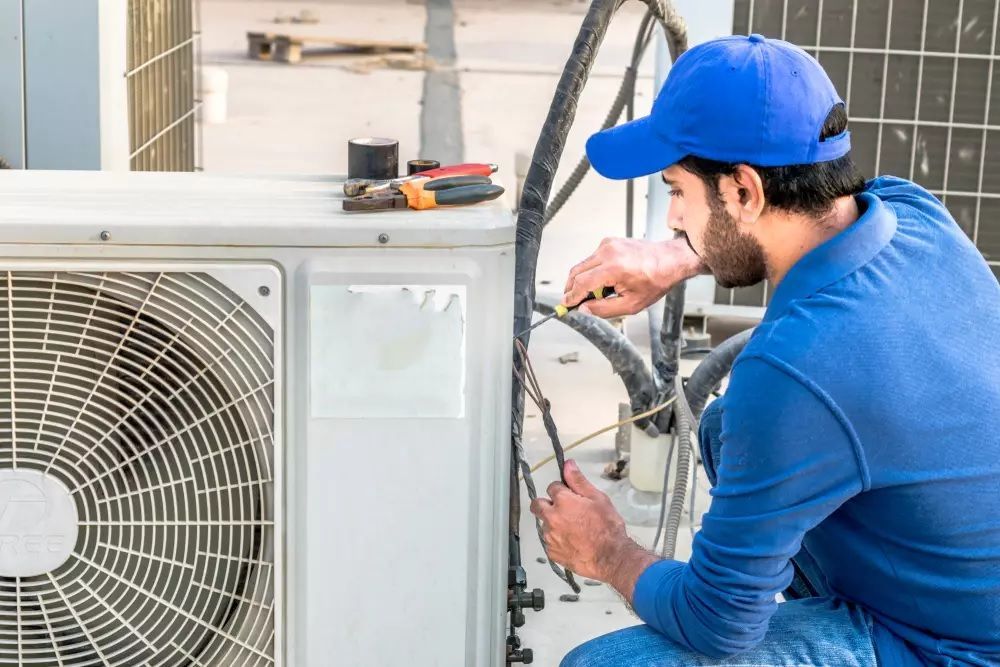
  5. Install the Refrigerant Lines: Use insulated copper tubing to connect the outdoor unit to the indoor unit. Follow the manufacturer’s specifications for routing and securing these lines, ensuring there are no kinks or sharp bends.


Step 3: Installing the Indoor Unit


  1. Choose the Mounting Location: For ductless systems, decide on the best wall location for the indoor unit, ideally in a central area for even air distribution.
  2. Mount the Bracket: Install the mounting bracket according to the manufacturer's instructions. Use a level to ensure it is straight.
  3. Drill a Hole for the Refrigerant Lines: If installing a ductless system, drill a hole through the wall for the refrigerant lines, ensuring it slopes slightly downward toward the outdoor unit for proper drainage.
  4. Attach the Indoor Unit: Hang the indoor unit on the mounting bracket and secure it according to the manufacturer’s instructions.
  5. Connect the Refrigerant Lines and Drain Line: Connect the refrigerant lines from the outdoor unit to the indoor unit, ensuring all connections are secure. If using a drain line, make sure it slopes downward for proper water drainage.


Step 4: Completing the Installation


  1. Seal All Connections: Use insulation tape or foam insulation to cover all exposed refrigerant line connections to prevent energy loss.
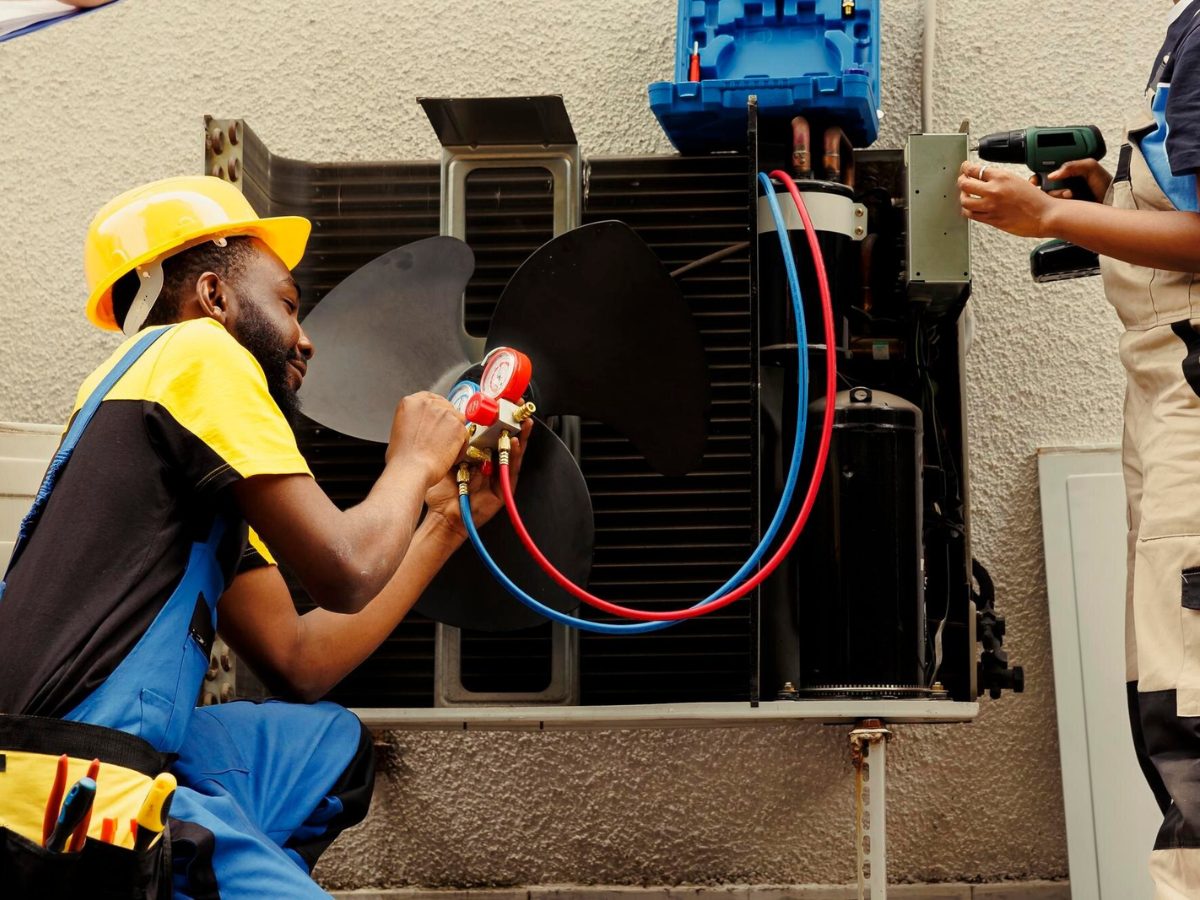
  2. Test the Unit: Turn on the power supply and test the unit for proper operation. Ensure both the indoor and outdoor units are functioning correctly.
  3. Check for Leaks: Inspect all connections and lines for any refrigerant leaks. If you suspect a leak, it’s best to call a professional.
  4. Insulate Ductwork (if applicable): For central AC systems, insulate any exposed ductwork to improve efficiency.


Step 5: Final Checks and Maintenance


  1. Set Up the Thermostat: If your AC Installation system includes a thermostat, follow the manufacturer’s instructions to set it up correctly. Consider installing a smart thermostat for enhanced control and efficiency.
  2. Regular Maintenance: Schedule regular maintenance checks to ensure your AC system runs efficiently. This includes cleaning or replacing filters, checking refrigerant levels, and inspecting for any signs of wear and tear.
  3. Know When to Call a Professional: While basic maintenance can often be handled by homeowners, know your limits. If you encounter issues with installation, refrigerant levels, or electrical connections, it’s best to call a licensed HVAC technician.
AC Installation

Common Mistakes to Avoid


During the installation process, avoid these common pitfalls:


  1. Improper Sizing: Choosing a unit that’s too small or too large for your space can lead to inefficiency and discomfort. Always consult a professional if unsure about sizing.
  2. Ignoring Local Codes: Installation must comply with local building codes and regulations. Ensure you have any necessary permits before installation begins.
  3. Neglecting Ductwork: For central systems, ensure ductwork is clean and in good condition. Neglecting this can lead to energy loss and inefficient cooling.
  4. Forgetting Regular Maintenance: Failing to perform regular maintenance can lead to costly repairs and premature system failure. Set reminders for filter changes and annual inspections.


Energy Efficiency and Saving on AC Installation Costs


Once your AC system is installed, it’s essential to operate it efficiently to save on energy costs. Here are some tips to maximize efficiency:


  1. Set the Thermostat Wisely: Keeping your thermostat at a higher temperature when you’re away can save energy. A setting of around 78°F is generally recommended for comfort and efficiency.
  2. Utilize Ceiling Fans: Ceiling fans can help circulate cool air, allowing you to set your thermostat a few degrees higher without sacrificing comfort.
  3. Close Curtains and Blinds: During peak sunlight hours, close curtains and blinds to block out heat and reduce the workload on your AC system.
  4. Seal Gaps and Leaks: Inspect windows and doors for gaps or leaks that allow cool air to escape. Use weather stripping or caulk to seal any openings.
  5. Schedule Regular Maintenance: Regular check-ups by a professional will ensure your AC unit runs at peak efficiency and helps identify any issues before they become major problems.


Troubleshooting Common AC Issues


Even with proper installation and maintenance, issues can arise. Here are some common problems and troubleshooting steps:


  1. AC Won't Turn On: Check the power supply and ensure the circuit breaker hasn’t tripped. Inspect the thermostat settings and batteries.
  2. Insufficient Cooling: This can be caused by dirty filters, blocked vents, or low refrigerant levels. Check and replace filters and ensure vents are unobstructed.
  3. Strange Noises: Unusual sounds can indicate loose components or debris in the unit. If you hear banging, rattling, or hissing, it’s best to consult a professional.
  4. Water Leaks: If water is pooling around the unit, check the drain line for clogs and ensure the unit is level.
  5. Foul Odors: Musty smells can indicate mold in the system. Turn off the AC and contact a professional to inspect and clean the system.


Conclusion


Installing an air conditioning system is a significant investment in your home’s comfort and energy efficiency. By understanding the various types of AC Installation units, considering key factors before air conditioner installation, and following the proper steps for setup, homeowners can ensure a successful installation. 

Regular maintenance and energy-saving practices will further enhance the lifespan and performance of your system. For professional assistance, Comfort Zone HVAC is available to help ensure your home stays cool and comfortable all summer long. If you’re in need of HVAC services in Bellingham, WA, don’t hesitate to consult their team of experts for reliable support and service. When in doubt, they are here to help!


You might also like

By jeffery hofer June 19, 2025
When temperatures climb, a dependable hvac cooling system is no longer a luxury—it’s a necessity. Whether you’re a homeowner, property manager, or business owner, managing indoor climate effectively is key to maintaining comfort, safety, and indoor air quality. At Comfort Zone Hvac, residents of Whatcom County and surrounding areas have access to trusted solutions that are guided by industry experience and a deep understanding of residential and commercial climate control. This article explores the core components of modern cooling systems, their benefits, signs they need attention, and the importance of professional installation and maintenance. With a focus on offering valuable, practical information, this guide will help you make confident decisions about your home or business’s temperature control needs. How Residential and Commercial Cooling Works An HVAC (Heating, Ventilation, and Air Conditioning) cooling system regulates the temperature and air quality inside a building. While heating and ventilation are vital components, this article focuses on cooling, the part of the system responsible for maintaining a comfortable indoor temperature during warmer months. Cooling systems work by removing heat from indoor air and circulating cooled air throughout the building. This process is typically achieved through air conditioning units, heat pumps, or ductless mini-split systems. Common Types of Cooling Systems: Central Air Conditioners: Ideal for cooling entire homes via a network of ducts. Ductless Mini-Splits: Great for targeted cooling and homes without ductwork. Heat Pumps : Efficient in moderate climates for both heating and cooling. Window Units and Portable ACs: Best suited for small spaces or temporary use. The best solution depends on the building’s layout, insulation, and cooling requirements. Why Proper Cooling Matters A well-maintained cooling system goes beyond just comfort—it’s also essential for health, productivity, and energy efficiency. Health and Indoor Air Quality Inadequate cooling or poor ventilation can lead to increased humidity, creating conditions that encourage mold and bacteria growth. This may aggravate respiratory issues or allergies. A functioning cooling system helps regulate humidity levels and filter out airborne particles. Comfort and Sleep When indoor temperatures rise, concentration and sleep quality often suffer. Consistent cooling helps maintain comfortable temperatures in every room, improving quality of life and productivity. Energy Efficiency and Utility Bills An outdated or inefficient cooling system can consume more energy than necessary. Modern systems are designed to be more efficient, offering consistent performance with lower electricity consumption, leading to cost savings over time. Signs Your Cooling System Needs Service or Replacement Many homeowners wait until their system breaks down entirely before calling a technician. However, recognizing the early signs of trouble can prevent larger, more expensive problems down the line. 1. Uneven Temperatures If some rooms are colder or hotter than others, your system may have airflow issues or thermostat imbalances. 2. Strange Noises or Odors Buzzing, rattling, or musty smells are signs of internal damage, loose parts, or microbial growth within the system. 3. Rising Energy Bills Unexpected increases in energy use can indicate a drop in system efficiency. 4. Frequent Cycling If your AC turns on and off too often, it may be struggling to maintain the set temperature. 5. Aging Equipment Cooling systems typically last 10–15 years. If yours is nearing that age and needs frequent repairs, it may be time to consider replacement. Why Routine Cooling Maintenance Matters Routine maintenance is key to keeping your cooling system performing reliably. Annual check-ups by qualified professionals can: Prevent unexpected breakdowns Prolong equipment life Maintain energy efficiency Improve air quality Reduce overall operating costs Tasks like changing filters, cleaning coils, and checking refrigerant levels are small steps that contribute to big improvements in system performance. Finding the Right Cooling Setup for Your Home or Business Every home or commercial building has unique cooling needs, and selecting the right system requires expert evaluation. Factors to consider include: Square Footage: Larger areas need higher-capacity systems. Insulation Quality: Well-insulated buildings require less cooling power. Ductwork Condition: Leaky or unbalanced ducts reduce efficiency. Local Climate: Humidity levels and average temperatures play a role. Budget and Long-Term Goals: Consider upfront costs vs. long-term savings. An experienced HVAC technician can provide a tailored recommendation based on a full assessment of your space. Installation: Why It Should Be Done by Professionals Installing a cooling system is not a simple DIY project. Even a top-of-the-line system won’t perform well if it’s not installed correctly. Poor installation can lead to: Reduced efficiency Higher energy bills Shortened system lifespan Frequent repairs Voided warranties Professional installation ensures that the system is properly sized, correctly connected, and set up to meet manufacturer specifications. It also guarantees that any electrical or refrigerant work is handled safely and in compliance with local building codes.
By jeffery hofer June 19, 2025
Maintaining a comfortable indoor climate year-round depends on a reliable and efficient heating cooling system . Whether you’re building a new home, upgrading an outdated unit, or looking for a more energy-conscious solution, selecting the right system can make a big difference in performance, utility costs, and comfort. At Comfort Zone Hvac, we focus on helping homeowners and businesses make informed choices that suit their specific space, needs, and budget. This guide will walk you through the essentials of heating and cooling systems, from how they work and what options are available, to how professional installation and maintenance affect long-term value. Our goal is to help you understand your system better and make decisions rooted in practical, reliable information. Understanding Heating and Cooling Systems A climate control setup is designed to manage indoor temperatures year-round—keeping your space warm in the winter and cool in the summer. These systems include various components that work together to ensure consistent comfort, air quality, and energy efficiency. Key Components Include: Furnace or Heat Pump: Provides heat by burning fuel or extracting heat from outdoor air. Air Conditioner: Removes heat and humidity from your indoor air in warmer months. Ductwork or Air Handlers: Distribute conditioned air throughout the building. Thermostat: Controls system operation, allowing you to set preferred temperatures. Filters: Help maintain air quality by removing dust, pollen, and other particles. Understanding how these elements interact is the first step toward identifying the right system for your needs. Common Types of Heating and Cooling Systems Different home layouts, climate zones, and energy priorities call for different HVAC setups. Here are some of the most commonly installed types: 1. Split Systems These are the most traditional and widely used systems. A split system includes an outdoor unit (air conditioner or heat pump) and an indoor unit (furnace or air handler). Split systems are ideal for homes that already have ductwork installed. 2. Ductless Mini-Splits Perfect for homes without existing ducts or for room-specific comfort needs. These systems consist of an outdoor compressor and one or more indoor units mounted on the wall. They offer zone control, meaning each unit can operate independently. 3. Packaged Systems All-in-one systems where the components are housed in a single cabinet, typically placed outside the building. These are common in homes with limited indoor space. 4. Geothermal Systems These use underground temperatures to regulate indoor climate. They are highly efficient but require a higher upfront investment and space for underground loops. 5. Hybrid Systems Combining a gas furnace with an electric heat pump, hybrid systems switch between fuel sources depending on efficiency and outside temperatures, providing cost savings over time. How to Choose the Right System When selecting a heating and cooling system, consider the following: 1. Climate Your local weather patterns will affect the best system for your home. For instance, homes in colder climates may benefit from a gas furnace, while those in milder areas can rely on a heat pump. 2. Home Size and Layout A system that’s too small won’t keep up with your needs, and one that’s too large will cycle on and off frequently, wearing out the components and increasing energy use. 3. Ductwork Condition If your home already has ducts, a split or hybrid system could be a practical choice. Without ducts, mini-splits offer effective, flexible alternatives. 4. Energy Efficiency Ratings Look for S EER (Seasonal Energy Effic iency Ratio) and AFUE (Annual Fuel Utilization Efficiency) ratings. Higher ratings generally indicate better efficiency and lower energy bills. 5. Budget and Rebates Initial cost, installation, and available incentives vary between systems. Factor in both short-term affordability and long-term operational savings. 6. Professional Assessment An experienced HVAC technician can evaluate your space and recommend options that meet your requirements. This assessment ensures that the system is correctly sized and installed for optimal performance. Why Professional Work Is Essential Even the highest-quality system can fall short if not installed properly. A poor installation can lead to inefficient performance, system breakdowns, and shortened lifespan. Professional installation ensures: Proper Sizing: Accurate load calculations to match your system with your home’s requirements. Efficient Ductwork Configuration: Properly sealed and insulated ducts to prevent air loss. Correct Refrigerant Levels: Over or under-charged refrigerants can damage the system. Safe Electrical Connections: Avoiding electrical hazards and ensuring proper operation. Warranty Protection: Many manufacturers require professional installation to honor warranties. Working with a certified and experienced team gives you confidence that your system will function as expected.
Expert HVAC System Repair
By jeffery hofer May 30, 2025
Not sure when to get an HVAC system repair? Our blog has expert tips to guide you. Click here to learn more and stay prepared.
More Posts

Book a Service Today